I was horrible at history when I was in school, especially if it involved memorizing dates and names. I am a “big picture” learner…I stink at details. I learned information better if I could put dates and people into stories. I remember that my mom used to teach me mnemonics and other techniques to remember facts I had to memorize. I think that’s what’s made me enjoy working with Virginia Studies classes on projects this year: I’ve watched the teachers make history memorable and understandable for students with these projects. If I’d had teachers that allowed us to do projects like these, maybe I’d have had a much easier time learning history back then!
 The first project was a podcast about the 4 regions of Virginia. Mrs. Ingram at East lead a group of students as they wrote 5 different segments–one for each region. It turned out great, and they even had a catchy way to remember the regions.
Press on the button below to listen:
The 5 Regions of Virginia
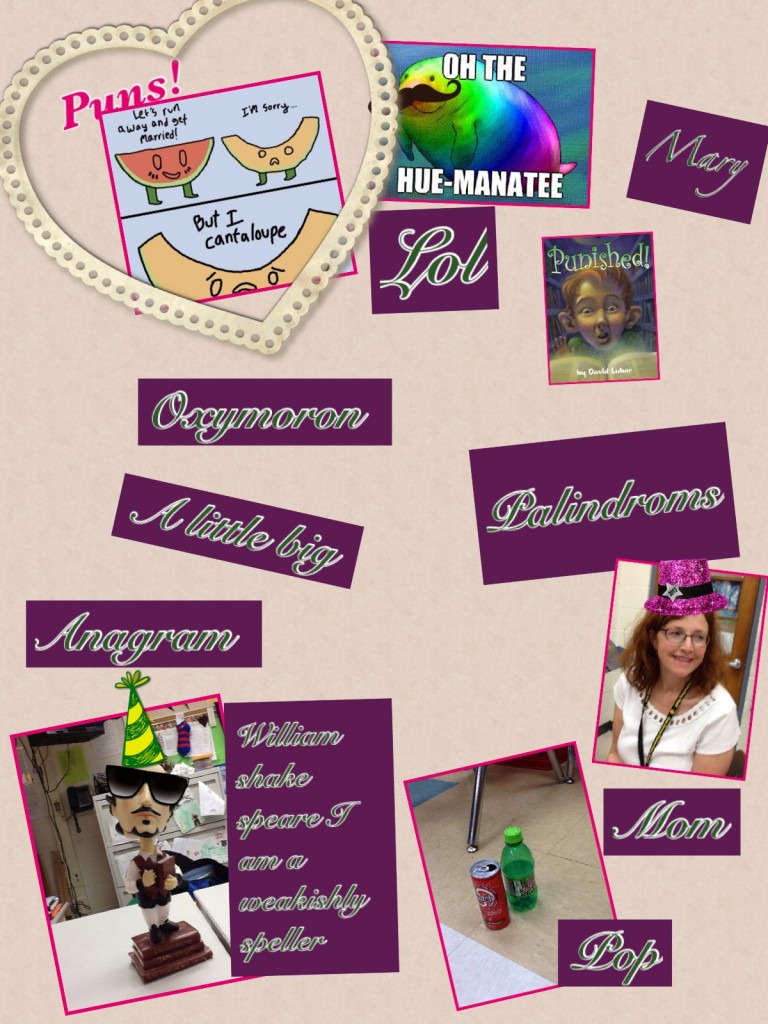
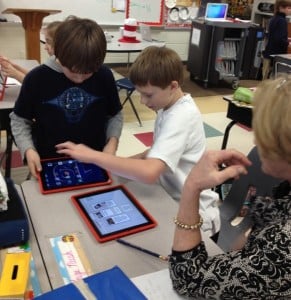
The next Virginia Studies project involved using Timeliner, a program for creating a visual timeline of certain events. Mrs. Barnett and I worked with two of the 4th grade classes at East to help them create broad timelines that included the most important events in Virginia History. Mrs. Barnett wanted students to see the time span between events that happened, especially the large span of time between the American Revolution and the Civil War. This was a way of placing details into a big picture context. Take a look at some of the ways they displayed this information:
 The most recent project was a podcast created under the direction of Mrs. Crotts at GWC. The students met with her and wrote their own scripts for this podcast. I was unable to be at the school to help them record, so a couple of students learned to use an MP3 player to record their classmates all by themselves. All that was left for me to do was add music and put it all together. I’m always amazed at the creative ability of students when given independence…the result was incredible. Take a listen:
Ready, Aim, Fire! SOLs! — American Revolution
In the end, the students even wrote thank you notes to both Mrs. Crotts and I for helping them with the podcast, which totally made my day!!!
All three of these projects were wonderful ways to engage student creativity and to help them see the broad picture and stories behind history facts…while using technology!! Thanks, Mrs. Barnett, Mrs. Ingram, and Mrs. Crotts for allowing me to work with you and your students this year. I’ve had a blast! I hope your students did too!




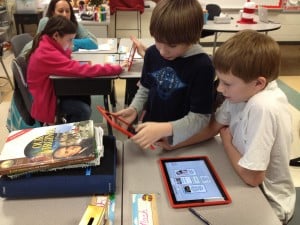
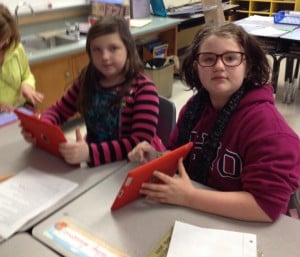
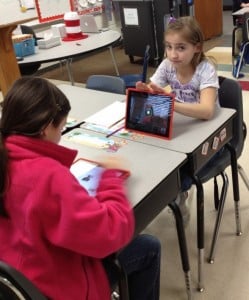
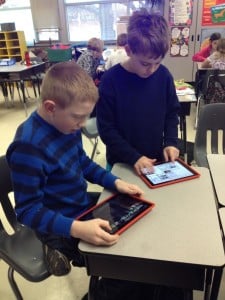
 The first project was a podcast about the 4 regions of Virginia. Mrs. Ingram at East lead a group of students as they wrote 5 different segments–one for each region. It turned out great, and they even had a catchy way to remember the regions.
 The most recent project was a podcast created under the direction of Mrs. Crotts at GWC. The students met with her and wrote their own scripts for this podcast. I was unable to be at the school to help them record, so a couple of students learned to use an MP3 player to record their classmates all by themselves. All that was left for me to do was add music and put it all together. I’m always amazed at the creative ability of students when given independence…the result was incredible. Take a listen: