Basic CTRL Key Shortcuts

We have these basic shortcuts hanging in our computer lab, and we teach students to use them when needed.  There are many more, but these are basic ones students find fun using.  If you want a list of them in Word Format, here it is: Basic CTRL Key Shortcuts

CTRL+C (Copy)

CTRL+X (Cut)

CTRL+V (Paste)

CTRL+A (Select All)

CTRL+Z (Undo)

CTRL+Y (Redo)

CTRL+O (Open)

CTRL+N (New)

CTRL+H (Hide)

CTRL+F (Find)

CTRL+P (Print)

CTRL+Q (Quit)

CTRL+U (Underline)

CTRL+B (Bold)

CTRL+I (Italic)

CTRL+Shift+> (BIG Text)

CTRL+Shirt+< (Little Text)

Help! My Screen is Sideways!

I sometimes have teachers email me about this problem, so it makes sense to have a blog post that tells them what happened, and how to fix it.

It may have been by accident (at least the first time), but once kids learn this fun trick, they are apt to try it again.  And you have to admit, it IS kind of funny!

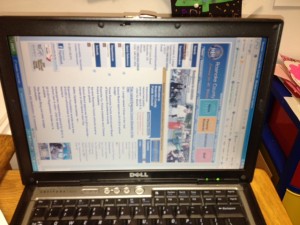
To turn a screen sideways or upside down, push one of the arrow keys while keeping Ctrl and Alt held down. The left and right keys will rotate the screen 90 degrees, and the down key will flip the screen upside down.

To fix it, push the key that points in the direction that you want the top of the screen to point. This means that pushing Ctrl+Alt+Up will return the screen to normal.


Getting Pictures from School iPads to Your Computer

Did you know you can transfer content from the school iPads right to your computer (with no plugs)?  Using the dropbox app, it’s easy and simple.

In order to have content transferred directly to your computer, you will first need to install dropbox on your computer.  Be careful, though.  Roanoke County Teachers will want to make sure  it is installed to sync to your desktop and NOT your My Documents folder.  If you need help with this part, I’ll be glad to install it for you. :)  Let me know you plan to do this, and I”ll send you an invite for our school’s student work folder.

When your students create a project on the iPads, have them save it, if possible, to the camera roll (or export as .jpg, or export to photos…it could be worded differently in different apps).  Then have the students open the dropbox app and upload the picture to their grade level’s folder.  Below are step by step directions. It’s very easy, and once you show the students, they will be able to do this on their own!

Check out How to Use Dropbox on School iPads by Tina Coffey on Snapguide.


By the way, for those of you who like such things, the guide above was made with a free app called Snapguide. It was so easy and quick!

More Popplets!

Students in Mrs. Mulvaney and Mrs. Downey’s Language Arts Class are at it again!  This time they created Cause and Effect Popplets about the book Rosa Parks: Freedom Rider.   Many of them blog with different teachers, but you can see their work by clicking on the links below.

They were excited to learn how to post their work to their own blog too.  Keep an eye out for more projects by this class!

Learning about Rosa Parks with iPads

This past week, fourth graders at in Mrs. Mulvaney’s, Mrs. Downey’s, and Mrs. Wallace’s reading class have  been learning about Rosa Parks while reading the book, Rosa Parks Freedom Rider by Keith Brandt and Joanne Mattern.

To augment what they were learning in the book, they also practiced research skills to learn more about her. They used Mobicip, Popplet, and Videolicious to create videos about the facts they learned.

The project started with Mobicip. Because Safari is not filtered very much in our school system, we have opted to use Mobicip instead. Mobicip looks a lot like Safari (with tabs and a search box) and allows students to save images in the same way. Students practiced finding relevant websites to find facts about Rosa Parks and saved copyright friendly pictures of her to the iPad Camera roll.

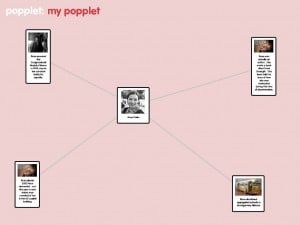
Once students had saved pictures and done their research, they used Popplet to create a concept map. This concept map wouldserve as a storyboard for their Videolicious videos.
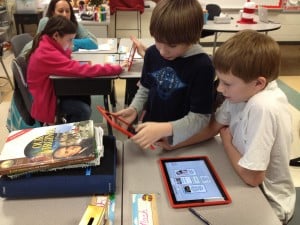
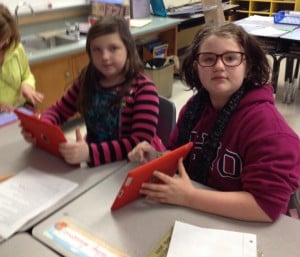
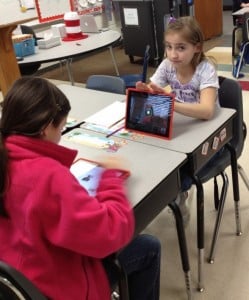
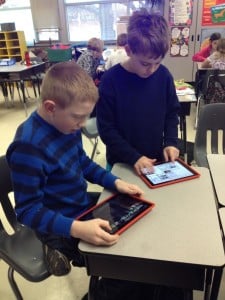
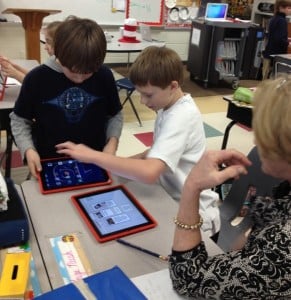
Finally, students partnered up. One student opened up the popplet they had created on one iPad and the other student opened up Videolicious on the other ipad. The students choose the pictures they wanted for their video. Then, the second student videoed the first student while he or she used their popplet as a guide.



It was great fun and the students learned a lot…and it was very easy. It was nice to be able to research, brainstorm, and create all on the iPad right in the classroom.

This project also made it easy to see where there were gabs in the knowledge of students, which teachers then could address.

Take a look at a few of their final projects!

Rosa Parks Example 1
Rosa Parks Example 2